

Biologically Contoured Esthetic Implant Restorations
Course Number: 684
Course Contents
Chairside Fabrication of Custom Healing Abutments
Various cervical formers (templates) (Figure 15) are available to help with the chair-side fabrication of custom healing abutments. Some manufacturers also sell pre-fabricated formers, similar to prefabricated polycarbonate provisional crown shells, that may be used for ease of creation of custom healing abutments.

Figure 15. Cervical formers/templates for chairside fabrication of custom healing abutment
The procedural steps are shown in the following Table 1:
| Table 1. Steps for Chairside Fabrication of Custom Healing Abutments58 | |
|---|---|
| 1. | An engaging temporary abutment (titanium or PEEK) is attached to the implant in the patient’s mouth and its buccal surface is marked. |
| 2. | The temporary abutment is removed from the mouth, attached to the implant analog, oriented appropriately, and placed in the predetermined mold (selected based on the mesiodistal width of the missing tooth) on the template. The vertical position may be adjusted by moving the implant analog vertically. |
| 3. | Temporary abutment is then placed in the predetermined mold and flowable composite resin material is introduced in the space between the mold and the temporary abutment (Figure 16) until the space is filled. The composite is polymerized using a curing light for 20 seconds.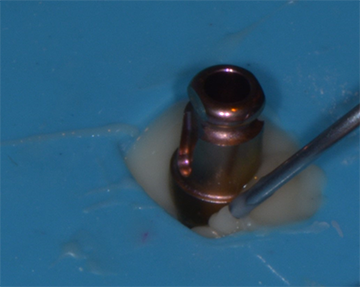 Figure 16. |
| 4. | The customized healing abutment is then removed from the template and is light-polymerized for an additional 20 seconds. |
| 5. | The intaglio surface is examined for voids which are filled with resin material (Figure 17).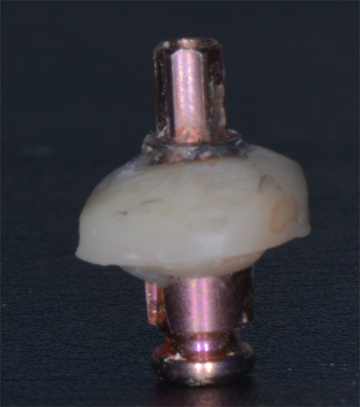 Figure 17. |
| 6. | The intaglio surface is adjusted and custom healing abutment is finished to develop smooth contours (Figure 18).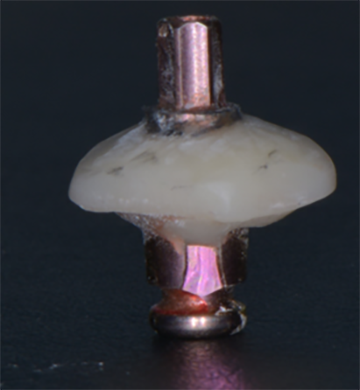 Figure 18. Remove sharp angles and corners rounded. |
| 7. | The height of the temporary abutment is reduced so that it does not interfere with the patient’s occlusion. |
| 8. | All surfaces of the customized healing abutment are polished using polishing brushes and paste (Figure 19).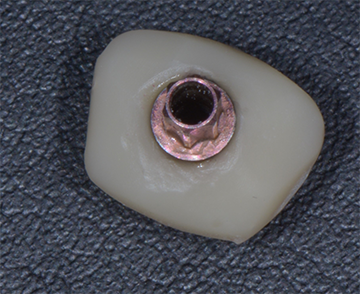 Figure 19. |
| 9. | The customized healing abutment is tried in the mouth, and further modified as necessary. It is finished, polished, and attached to the implant (Figure 20).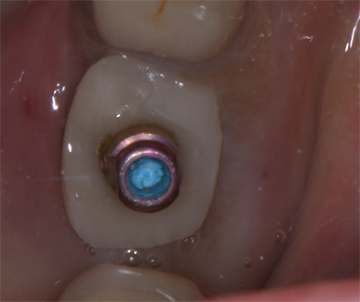 Figure 20. |
| 10. | A radiograph is taken (Figure 21) to confirm the complete seating of the custom healing abutment.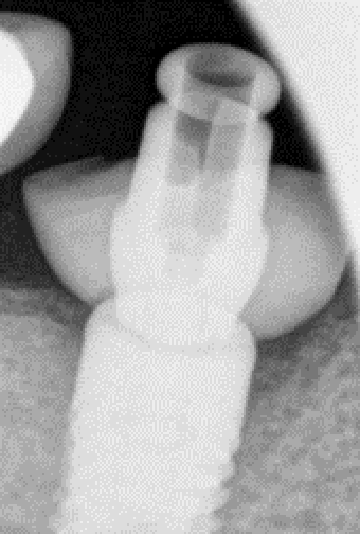 Figure 21. |
0/21Next