

Biologically Contoured Esthetic Implant Restorations
Course Number: 684
Course Contents
Clinical Workflow for Fabricating Biologically Contoured Restorations
The soft tissue form established by the provisional restoration/custom healing abutment should be recorded while transitioning from provisional restoration to definitive restoration.10,41,64,65 It may be recorded digitally using an intraoral scanner or conventionally by making an implant-level impression with a custom impression coping to avoid tissue collapse.10,64,66
Custom Impression Coping
A custom-made impression coping should mimic the exact submucosal emergence profile of the provisional restoration or the custom healing abutment (Figure 27).

Figure 27. Custom Impression Coping
(Picture provided by Dr. Russell Wicks)
The procedural steps for the fabrication of a custom impression coping are shown in the following Table 3:
| Table 3. Steps for Fabricating a Custom Impression Coping:12,66 | |
|---|---|
| 1. | The provisional restoration restoration/custom healing abutment is removed from the patient's mouth, and attached to an implant analog. |
| 2. | The assembly is placed in a dappen dish/paper cup filled with freshly mixed impression material (Figure 28); The impression material should extend up to the middle third of the provisional restoration restoration/top of the custom healing abutment. Figure 28. |
| 3. | Once the impression material polymerizes, the provisional restoration/custom healing abutment is removed (Figure 29) and replaced in its designated position in the oral cavity.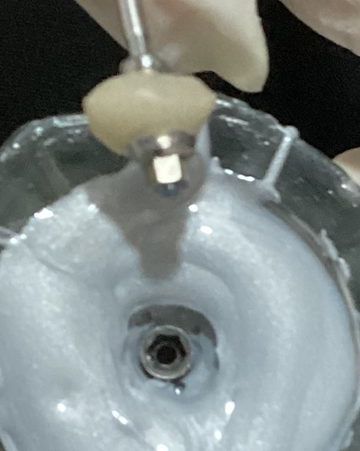 Figure 29. |
| 4. | An open tray impression coping is attached to the implant analog (Figure 30) retained in the dapen dish.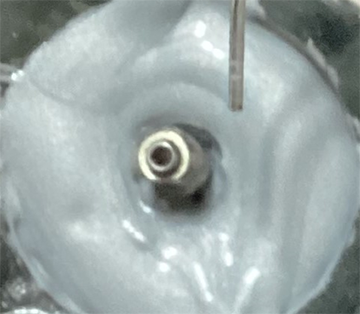 Figure 30. |
| 5. | Flowable composite resin is introduced around the impression coping (Figure 31) to fill the void between the coping and the impression material (area of the transmucosal contour). The composite is polymerized using a curing light for 20 seconds.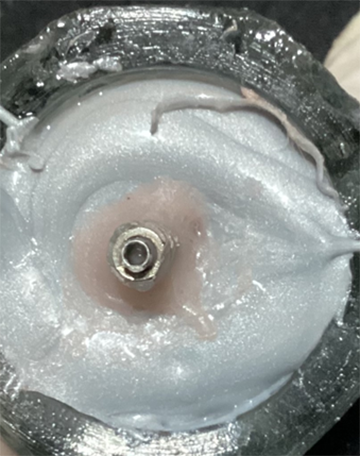 Figure 31. |
| 6. | The custom impression coping is removed from the dappen dish (Figure 32) and attached to the implant platform intraorally in the mouth.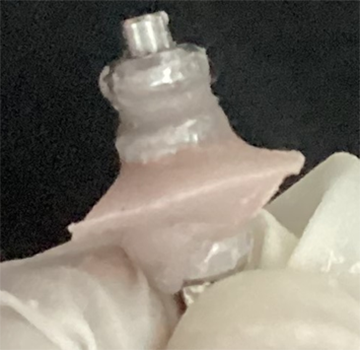 Figure 32. |
| 7. | An open tray impression is then made with this customized impression coping supporting the soft tissue profile. |
| 8. | The impression is poured using a soft tissue replacement material around the customized impression coping. This enables the fabrication of a soft-tissue cast that replicates the developed intraoral emergence profile and guides in the creation of optimal contours of the definitive restoration. |
Next, the interocclusal record, the opposing arch, and the shade are recorded. The restoration is fabricated and placed using standard prosthodontic procedures.